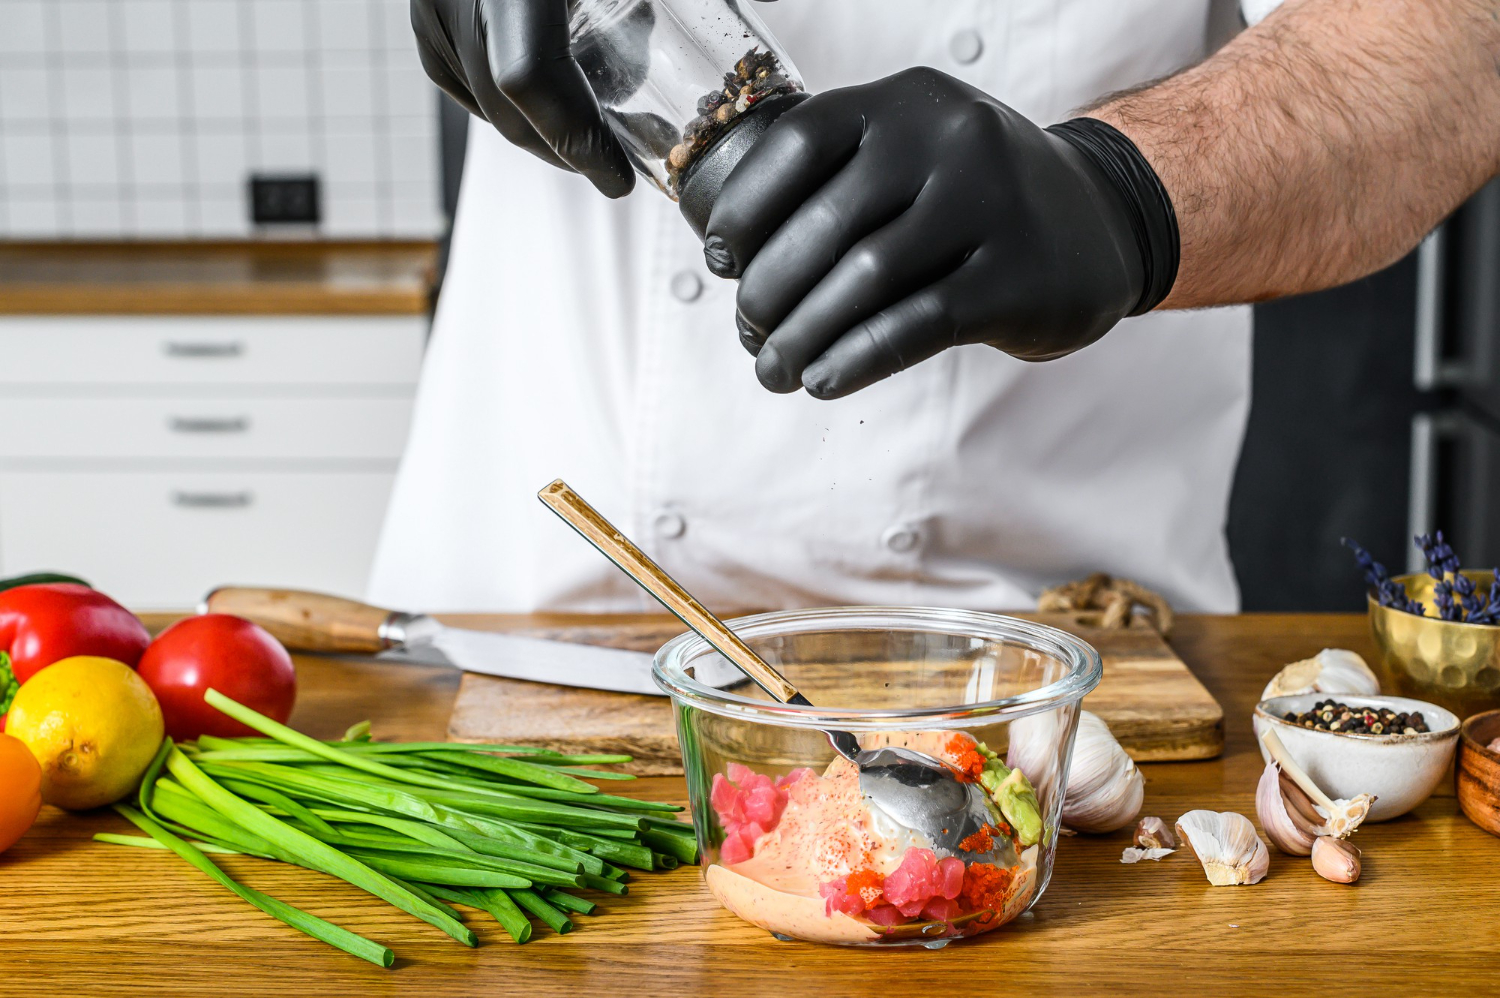
Molecular cuisine is not only based on expensive equipment that carries out complicated physical and chemical operations. It is also a few simple tricks that can be used in any kitchen.
Everyone who likes to cook, sooner or later comes across the subject of molecular gastronomy. Otherwise known as creative cuisine, it is based on the application of scientific knowledge in the process of preparation of dishes, and its main goal is to obtain well-defined flavors by unusual means for standard cuisine. Such dishes are often served in surprising and intriguing compositions. You may have come across the use of liquid nitrogen, dry ice, an antigrill or a dehydrator in your cooking, but molecular gastronomy is much more than just a few expensive substances or machines. You can easily perform some of its techniques in your home without having to spend a fortune on specialized equipment.
Although this culinary trend has only become popular in recent years, molecular gastronomy is actually as old as cooking itself. The term itself means nothing more than changing the physical structure of food. A very good example of this phenomenon is the process of whipping cream, which changes its consistency from liquid to solid. In the 1980s, scientists began to take an interest in food physics and asked themselves: Why do foods change when subjected to certain temperatures or mechanical influences? The biochemical, physical and chemical phenomena discovered by the researchers are used today by chefs, whether they are professionals or just cook for their loved ones, and new ideas for new dishes and compositions appear online every day. Low-temperature processes made it possible to control the juiciness of meat and fish, spherification to serve well-known dishes in a smaller form, but with a more intense flavor. Marshmallows bring lightness to the plate, emulsification creates flavor emulsions based on fatty ingredients, and gelification allows the preparation of jellies by using algae and algae-like products.
Although there are many different techniques in creative cooking, its three basic types you can easily make at home. Marshmallows are one of the most common methods, and they involve turning liquids into foam. You can use purees, creams, juices, and even soups and sauces in this process. The only additional ingredient you need is lecithin – available at most health food stores. This substance is a simple emulsifier, an agent that allows water and oil to mix. Lecithin has the added property that when it is foamed, it produces a consistency similar to bath foam. To turn any liquid into foam, simply add 2 grams of lecithin to it for every 400 ml. Then use a hand blender and pulse the mixture until the substance reaches the desired consistency
Gelling is simply bringing a liquid to a solid form. Anyone who has ever made jelly is very familiar with this process and it won’t be anything new to them. Gelatin thickens the liquid to the point where it becomes a compact, slimy mass. But gelatinizing is not just for fruit or meat jellies. Using agar agar or gellan gum, you can easily make jellies from juices or soups. Just dissolve 2 grams of agar in 170 ml of liquid and boil. Prepare the appropriate molds and pour the warm liquid into them. After cooling, jellies will be ready to eat. If you want to get the characteristic shape of the spheres, use a pipette or syringe and put a few drops of the hot mixture into the cold vegetable oil. The little spheres will solidify immediately. Rinse them after you have fished them out so that you don’t taste the oil. The spheres can also be served warm – agar gels only dissolve at 80 degrees
In addition to uniformly fused ball-shaped gels, you can also make beads with liquid inside. Although visually the effect is similar, eating such treats provides a completely different experience. Spherification solidifies only the outer layer of the liquid beads, and thus gives the effect of bursting in your mouth when you bite down. It is a simple trick, but it impresses your guests every time. This technique requires a bit of practice and good timing. To create the beads, mix your liquid with sodium alginate – in the ratio of 2 grams of sodium alginate to 450 ml of liquid. As with the gel beads, use a pipette or syringe to introduce the substance into the mixture of water and plenty of calcium chloride. The reaction starts as soon as the two substances come into contact, which is why patience and practice are so important – after a few tries you will know how long it takes to get the perfect thickness of the outer shell. The basic rule is that the longer the bead is in the bath, the deeper the transformation will go. After you have fished the beads out with a strainer, rinse them with water and add them to your compositions.